分类 pocketchip 下的文章

2020.6.21 经过测试,下面购买的那个屏幕,出现了问题,背光灯时亮时不亮,可能是电路不兼容,长时间不正常工作挂了吧,差不多2个月。所以,你们要是买了,出现了类似的问题,别过来怼我……
4.3寸IPS电阻触摸屏(300亮度)其他亮度未测试,不建议买
点击购买地址 给卖家说要300亮度的4.3寸800*480电阻触摸屏
重新编译PocketChip的dts,并用添加的这个替换面板定义
sudo apt install make gcc
git clone https://github.com/KoljaWindeler/CHIP-dt-overlays
cd CHIP-dt-overlays/compiler/
./install.sh
cd ..
make clean all
git clone https://github.com/ntc-chip-revived/CHIP-dt-overlays.git
mv CHIP-dt-overlays/firmware/ .
mv CHIP-dt-overlays/nextthingco/ .
rm -rf CHIP-dt-overlays
make clean all
nano nextthingco/dip-pocket-common.dtsi
编辑Pocketchip文件,只需替换下面的面板定义,fragment@5 声明与5英寸800x480屏幕兼容

__overlay__ {
        panel {
                #address-cells = <1>;
                #size-cells = <0>;
                compatible = "allwinner,sun4i-a10-sub-evb-5-lcd";

make clean all
sudo cp firmware/early/*.dtbo /lib/firmware/nextthingco/chip/early/
sudo reboot
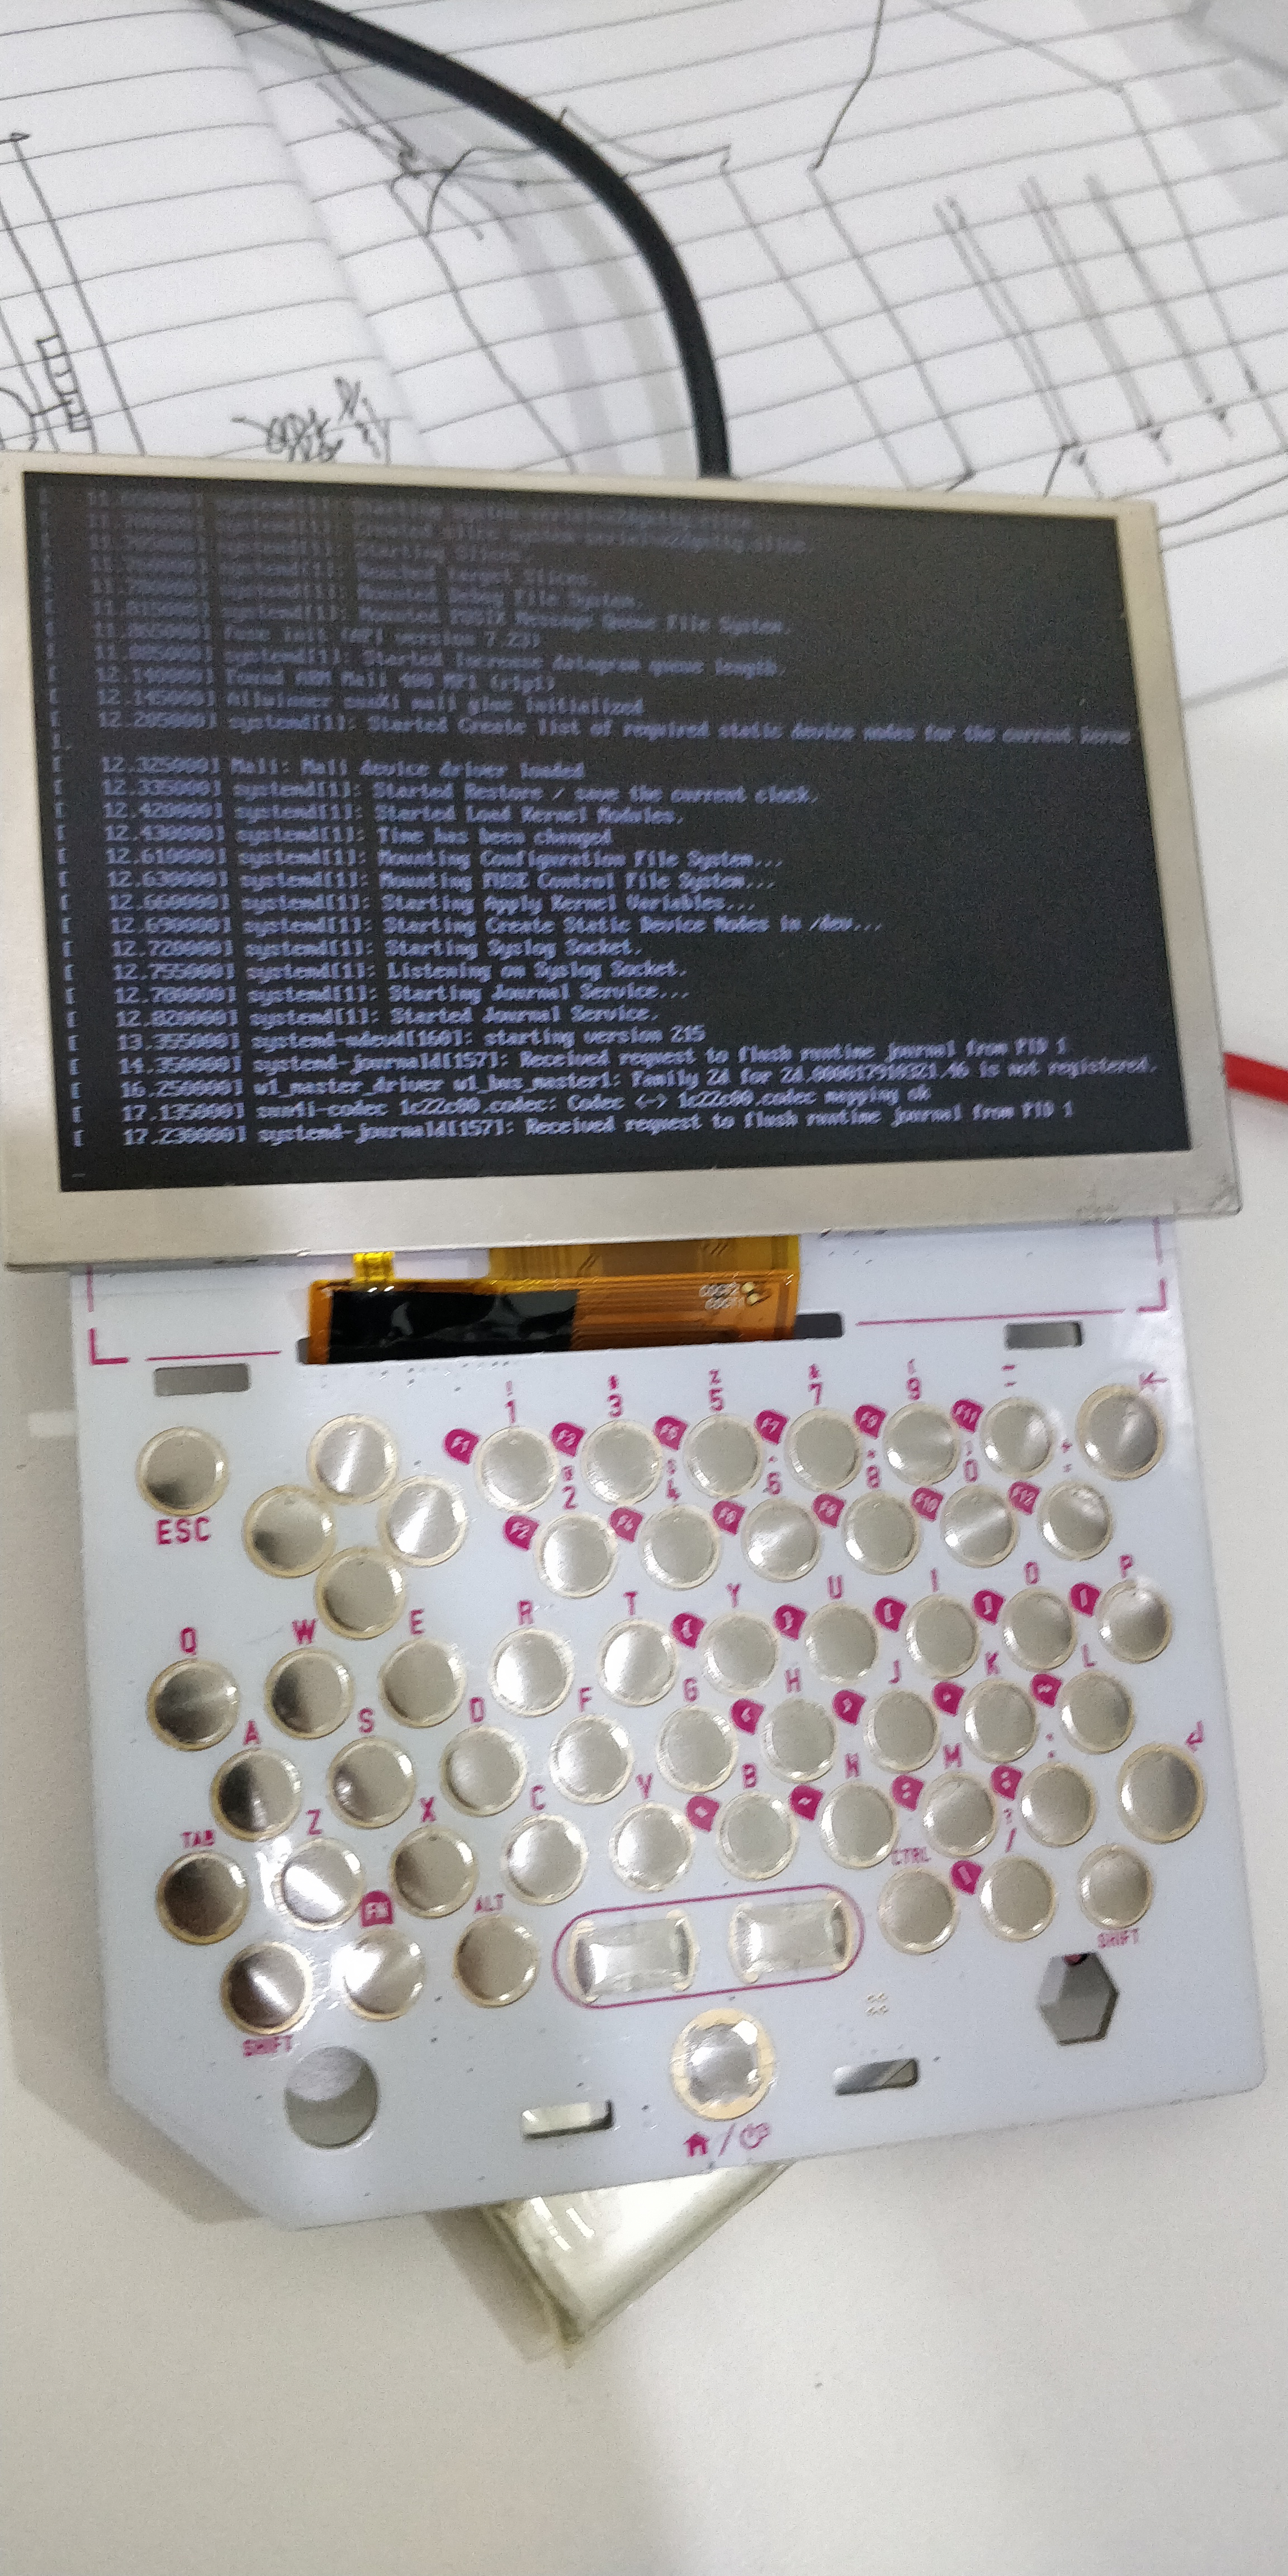
TIM图片20200415140014.jpg
TIM图片20200415140552.jpg

X11视频加速 2D加速

sudo apt-get install git build-essential xorg-dev xutils-dev x11proto-dri2-dev
sudo apt-get install libltdl-dev libtool automake libdrm-dev

git clone https://github.com/ssvb/xf86-video-fbturbo.git
cd xf86-video-fbturbo

autoreconf -vi
./configure --prefix=/usr
make -j2

sudo make install

添加设备
sudo nano /etc/X11/xorg.conf

Section "Device"
        Identifier      "Allwinner A10/A13 FBDEV"
        Driver          "fbturbo"
        Option          "fbdev" "/dev/fb0" 
        Option          "SwapbuffersWait" "true"
EndSection

最后重启
sudo reboot

达到的效果,用SMPlayer以X11模式播放720P以下视频不再卡顿

sudo apt-get install cmake
sudo apt-get install libx11-dev

git clone https://github.com/ptitSeb/gl4es.git
git checkout v1.1.4

cd gl4es
mkdir build
cd build
cmake .. -DCHIP=1 -DCMAKE_BUILD_TYPE=RelWithDebInfo
//-j2不加了易报内存不够
make 

cd ../
cd lib/
sudo mv libGL.so.1 /usr/lib/arm-linux-gnueabihf/libGL.so.1.2.0

如果之前安装了xf86-video-fbturbo 请先禁用
sudo nano /etc/X11/xorg.conf

#Section "Device"
#        Identifier      "Allwinner A10/A13 FBDEV"
#        Driver          "fbturbo"
#        Option          "fbdev" "/dev/fb0" 
#        Option          "SwapbuffersWait" "true"
#EndSection

然后重启

sudo apt-get install mesa-utils
glxgears

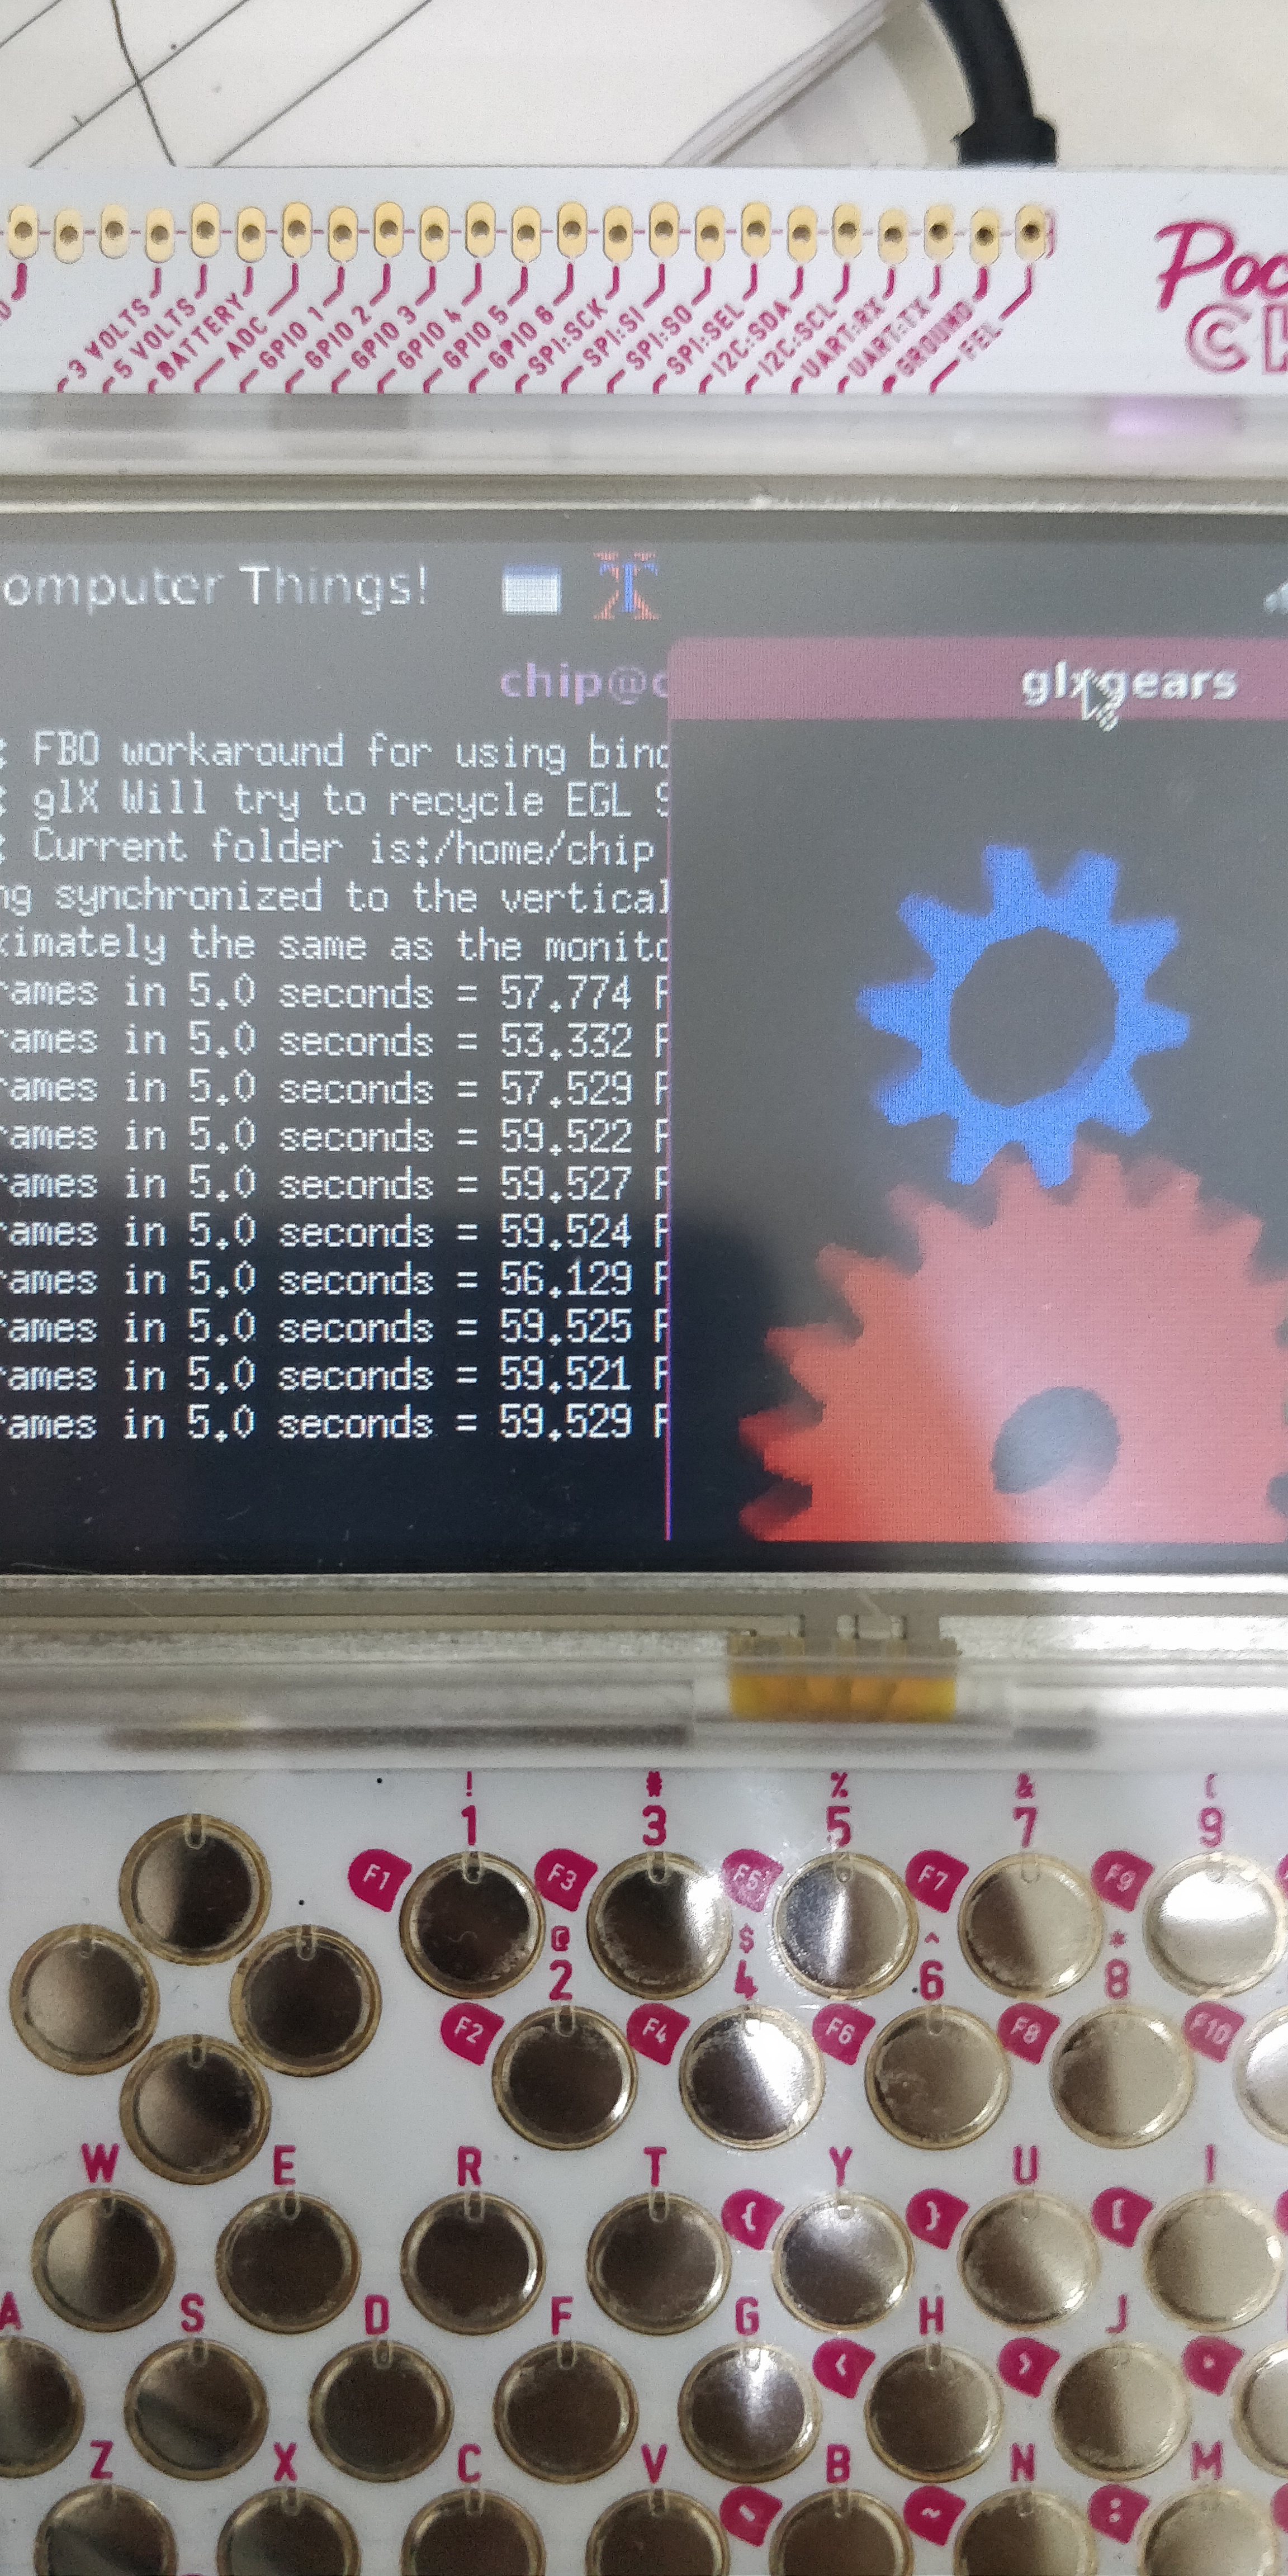
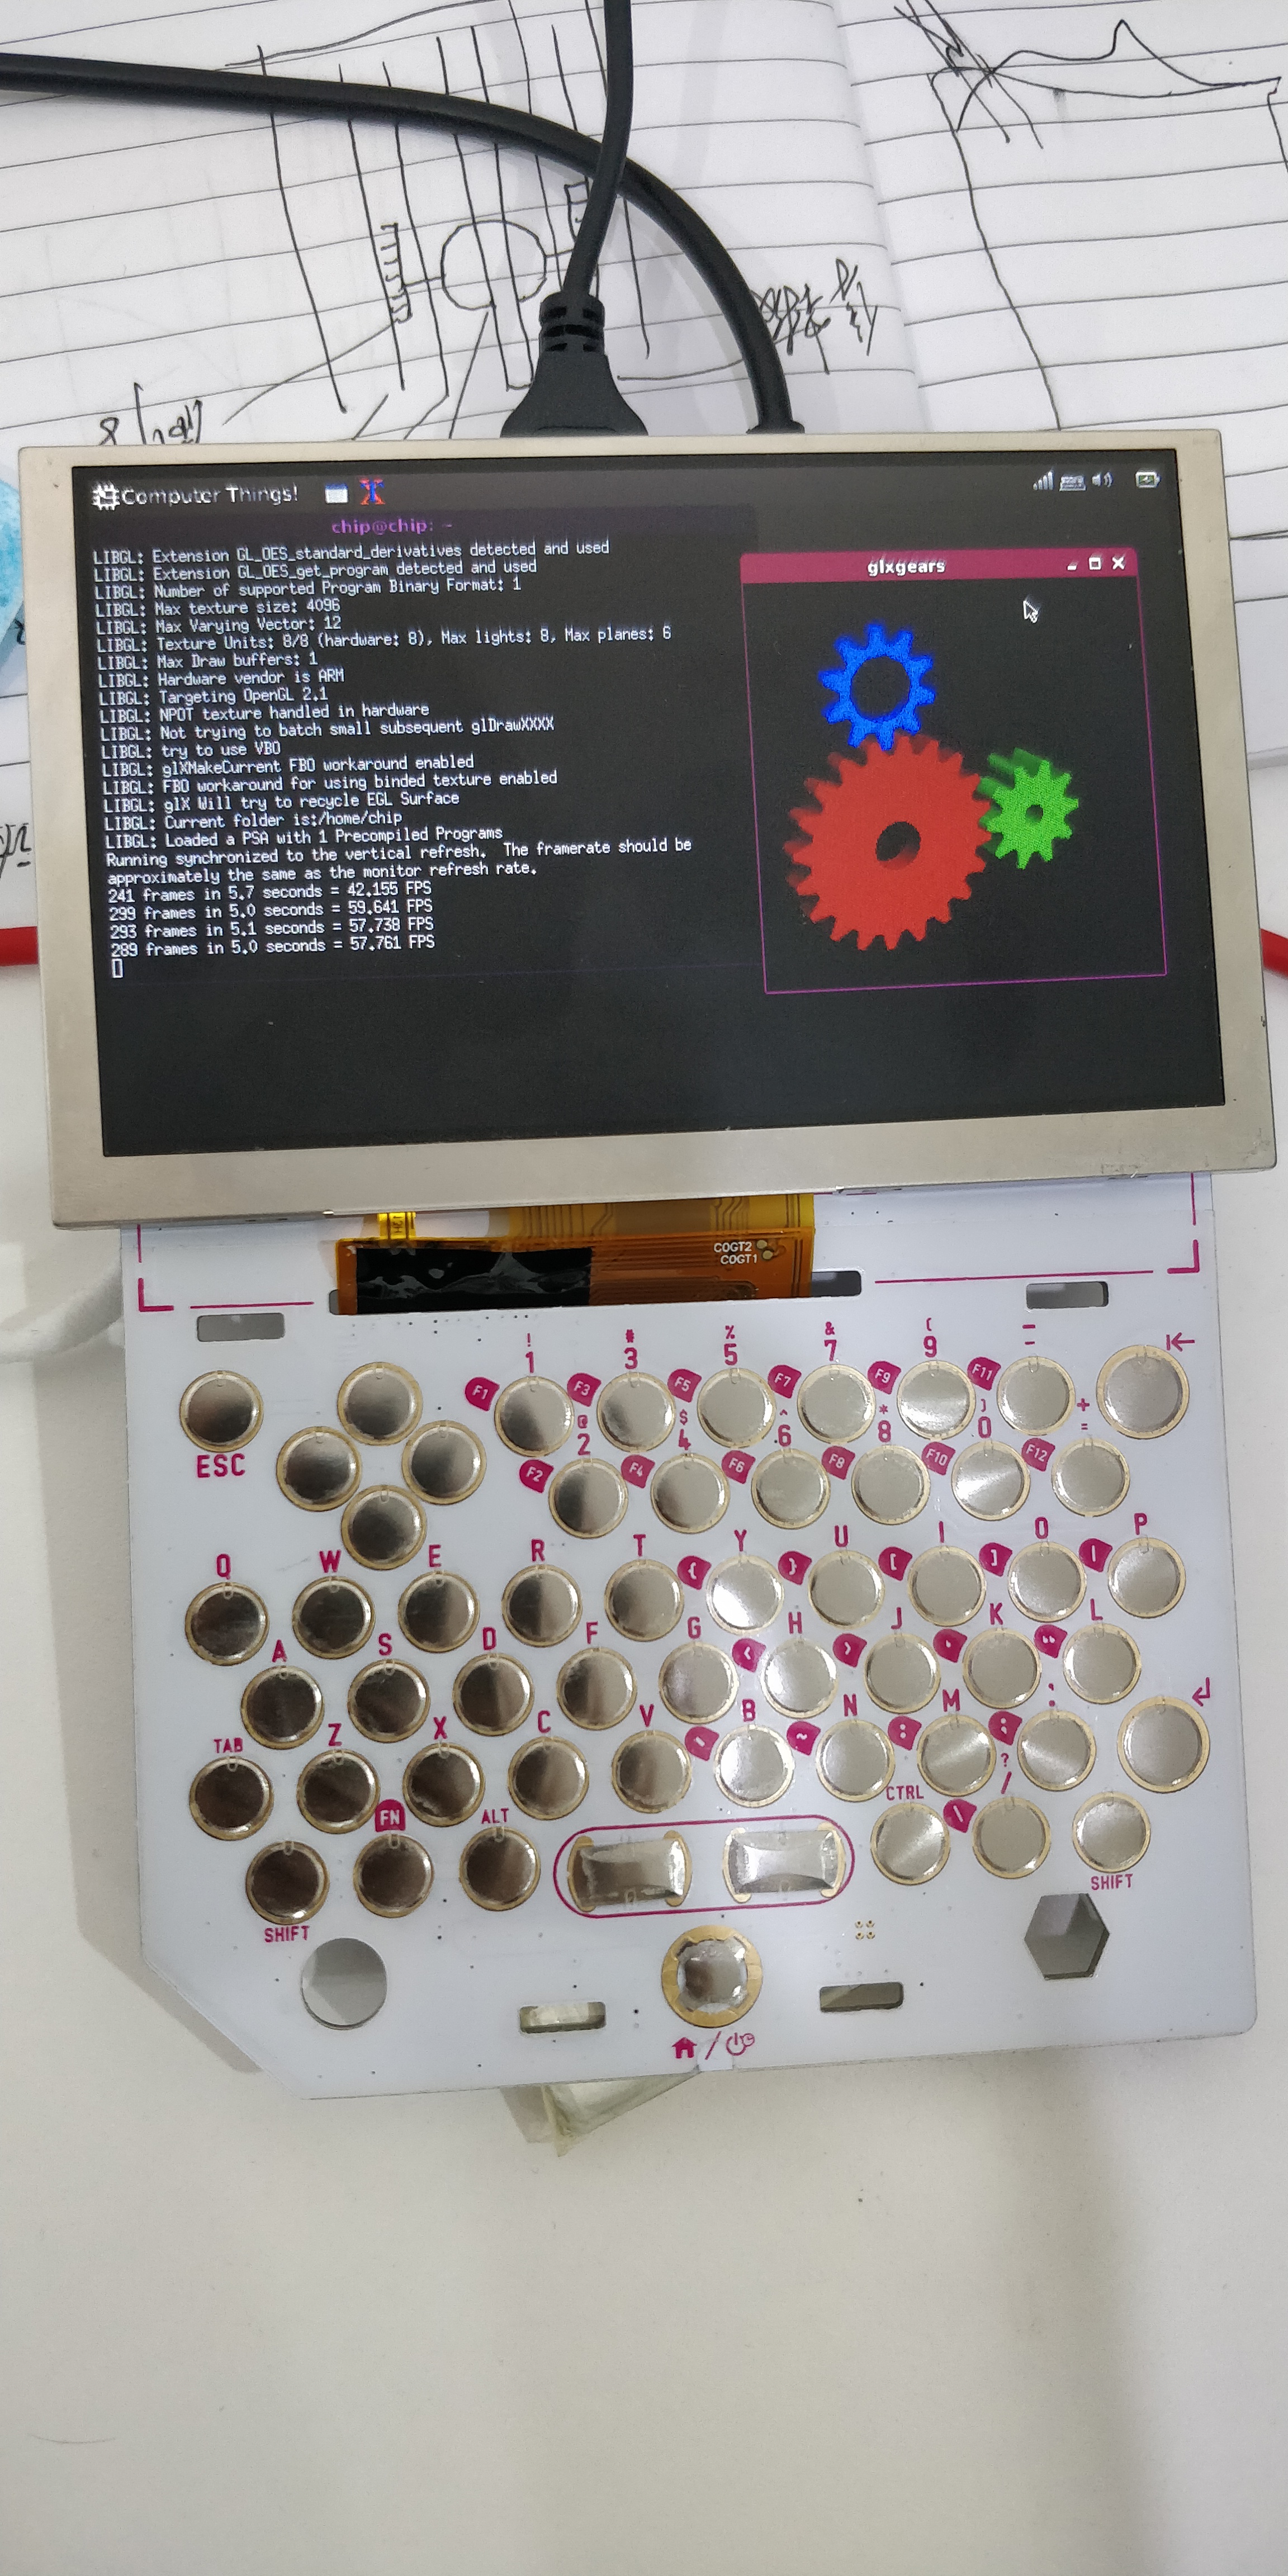
如果是GUI版会看到下图,如果是home版可能看不到齿轮,因为窗口太大……
TIM图片20200414151753.jpg

相关地址
https://github.com/ptitSeb/gl4es
https://forum.armbian.com/topic/1420-opengl-on-mali-gpu-bananapi-orangepi-pc-etc/

安装tightvncserver
sudo apt install tightvncserver
启动
vncserver :1
设置远程访问密码
修改密码
vncpasswd

用vnc登录 ip:1

关闭VNC服务
vncserver -kill :1

先备份xstartup原始文件,再编辑
sudo mv -v .vnc/xstartup .vnc/xstartup.backup
sudo nano ~/.vnc/xstartup

#!/bin/sh
export XKL_XMODMAP_DISABLE=1
unset SESSION_MANAGER
unset DBUS_SESSION_BUS_ADDRESS
 
exec /etc/X11/xinit/xinitrc
 
xfce4-panel &
xfsettingsd &
xfwm4 &
xfdesktop &
pcmanfm &
xfce4-terminal &
 
[ -x /etc/vnc/xstartup ] && exec /etc/vnc/xstartup
[ -r $HOME/.Xresources ] && xrdb $HOME/.Xresources
xsetroot -solid grey
vncconfig -iconic &
 
startxfce4 &

更改配置文件的权限:
sudo chmod +x ~/.vnc/xstartup

我这边装的桌面是 xfce4

开机自动启动
sudo nano /etc/systemd/system/vncserver@.service

[Unit]
Description=Start TightVNC server at startup
After=syslog.target network.target

[Service]
Type=simple
User=chip
PAMName=login
PIDFile=/home/%u/.vnc/%H%i.pid
ExecStart=/usr/bin/vncserver -depth 24 -geometry 1024x768 %i

[Install]
WantedBy=multi-user.target 

sudo systemctl daemon-reload
sudo systemctl enable vncserver@:1.service

关闭
vncserver -kill :1

启动
sudo systemctl start vncserver@:1.service

最后重启
sudo reboot